


If You’re Plastering Large Holes Here is what you need to know
If You’re Plastering Large Holes Here is what you need to know Are large plaster holes ruining the appearance of your house’s Walls? Are you

How is plaster used for Ceiling Repairs
How is plaster used for Ceiling Repairs? Ceiling plaster deteriorates in two ways, one by showing cracks all over the surface and the other by

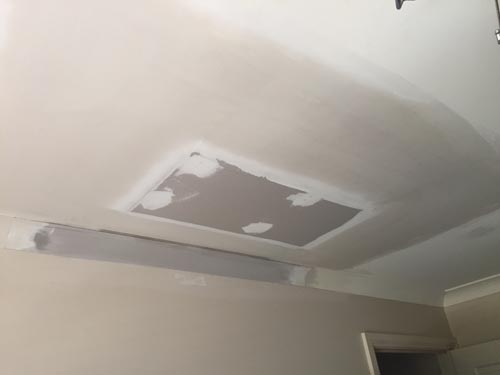
Plaster Repairs for ceilings and avoiding these mistakes
Plaster repairs for ceilings: Avoiding these mistakes Plaster damages on the ceiling can get worse pretty fast if not repaired timely and fitly. Plaster on

Repairing the holes in Plasterboard walls and hollow doors
Plasterboard Repairs: Repairing the holes in Plasterboard walls and hollow doors Repairing holes in plasterboard and hollow doors requires precession and proper tools. For plasterboard

Quick Plaster Repairs to Walls
Quick Plaster Repairs to Walls Plaster repairs to walls is an easy task. It requires some tools and materials to make the appearance of your
Plaster Repairs And Common Mistakes
Plaster Repairs: Definition, DIY ideas, and Common mistakes Plaster repairs are essential for your home and office to keep it in good condition. It increases